Showing posts with label Crafts. Show all posts

Sunday, January 11, 2015

Train PVC storage

So I was tired of the bucket of trains being dumped all over the floor so I found this great storage idea on Pinterest (of course!).
Link where I got the idea! (Scroll down to number 9)

Supplies:
3- 5ft tubes of PVC cut into 3" pieces. We used the 2 inch diameter. It gave us about 60 pieces. We used this size since the majority of the Take n' go Thomas trains are 1 to 1½ inches tall.
1 Tube of Plumbers PVC superglue.
2 Cans of spray paint. My little one picked green.
4 Caps and 4 screws for mounting.


They were pretty messy after we cut them so some sanding fixed them up.

I did a quick coat of paint before we glued them together just to make sure the middle pieces were completely covered. 


I glued them altogether with a super messy but nice and strong PVC plumbers super glue. I left some odd spaced gaps on purpose so that some of his trains that were bigger than the pipes could have a spot too. We glued on the caps and drilled holes for the screws. We made sure that at least 2 of the 4 screws went into studs just because it is fairly heavy and the metal dye cut trains make it even more so.  


It has been a great addition to our play area. He loves putting his trains away now, and can pick out which trains he wants easily without having to dump them all out. 

Saturday, November 1, 2014

Buzz and Alien Pumpkins

We were very Toy Story themed this year for Halloween so I painted our pumpkins to go along with that. We like to paint our pumpkins down here since the weather is so hot if we cut them they tend to melt and mold very quickly. So the alien was pretty easy, I used lots of neon green. For both these pumpkins I used the little bottles of acrylic paint, makes for an inexpensive craft. The aliens' antenna was a pipe cleaner covered with green felt and some thread.


Buzz took several hours to do but he turned out pretty darn awesome. The black is a sparkly black which gave it a great outer space look to it.


And here is my tiny little buzz lightyear. Costume, themed bucket and matching pumpkins. We had another great Halloween. 


Monday, October 6, 2014

Deployment Box #8 - Happy Birthday

This is our last box for this deployment! My husband will of course be gone again for his this year so I put together a birthday box. It won't be the same as a party with cake and presents home with us, but hopefully some extra fun goodies will brighten his day. I had my son help do hand prints for a heart, and I did a happy birthday banner across the top. The tissue paper is green with sparkles, I was going to do wrapping paper but I found we were all out so I had to work with what we had in the wrapping bin. 

Included in this box was:

  • Birthday cake M&Ms (Not pictured, and I've never tired them so hopefully they are yummy)
  • Lays chips (I liked that these were a in plastic "pringles-like" container which hopefully will help them survive the journey)
  • Capn' crunch snack mix (.99 store treasure, ha)
  • Cashews
  • Banana chips
  • Jolly rancher green apple drink mix
  • Gatorade energy chews
  • Dried pineapple and papaya
  • Redvines
  • Protein powder (not pictured)
  • Razors (not pictured)

Thursday, August 28, 2014

Deployment Box #7 - Vitamin Me!

I thought I'd have some fun with this box. No neat designs, just lettering, but its a fun one that hopefully will get a smile out of my husband. Only one more box after this since it will take longer for boxes to get to him and he is almost home!

Included in this box:

  • Dried fruit (again I know, but if you are eating MRE's any fruit is better than none)
  • Oatmeal
  • Peanut butter
  • Tuna pouches
  • Protein bars
  • Razors
  • Pistachios
  • Funions (not pictured)
  • Life Cereal (no pictured)


Deployment Box #6 - Goodnight and Goodmorning

Another fun deployment box. Since my husband is on the other side of the world we definitely have to deal with time differences and one of us being asleep while the other is awake. This one is just filled with normal goodies that he likes. 
Includes:

  • Dried fruit
  • Crunch munch
  • Cookies
  • Butterfinger bites
  • Oatmeal
  • Tuna (canned and salad kits)
  • Razors


Friday, June 20, 2014

Deployment Box #4 - 4th of July

It is almost independence day so I put together this red, white, and blue themed box. Using my Silhouette I cut out lots of fireworks and stars. I also filled the box all red, white, and blue colored goodies. 


Included in this box is:
  • Tuna salad kits and canned tuna
  • Cookies
  • Peanut butter
  • Rice cups
  • Flavored water drops
  • Corn nuts
  • Poptarts
  • Oatmeal cups
All these items are not necessarily that red,white and blue, but their packaging worked. Hopefully he enjoys it as much as the others. 


Summer Fun #2 - Slime!

For this craft I used:
  • 1/3C - 1/2C Liquid Starch (I got some Sta-flow from Walmart).
  • Clear glue (5oz bottle)
  • Giant bowl
  • Spoon and measuring cup
  • Colored pigment (you could use liquid water colors or food coloring)


This was an easy activity. More for the parent to do then the kiddo gets to play. First I added the bottle of glue into the bowl and added some pigment. Stir till its all mixed in. Then SLOWLY add a little bit of the starch. About a tablespoon at a time, stirring super well after each addition. After awhile it might be easier to knead it with your hands. I didn't really need to use much of the starch either, it came together pretty quick.


Summer Fun #1 - Rainbow Rice

So this summer I am trying out lots of crafty, sensory play, fun things to keep us busy. First up we made rainbow rice. It was a total hit and super easy to make.
What I used:

  • Pan, lined with foil
  • Dry rice - (Dry beans are also in this picture we are going to try dying them too, I'll post about how that goes later)
  • Rubbing Alcohol
  • Paper bowl
  • Spoon
  • Gloves
  • Rubber gloves
  • Spoon
  • Measuring spoon


Poor one cup of rice into the bowl. Add about 2-3 teaspoons of rubbing alcohol and a few drops of food coloring. Stir till all the rice is coated. Pour the rice onto the pan, then repeat with different colors. 
I was able to fit about 3 colors on a pan. 

I put each pan in the oven for about 10 min on the lowest temperature it would go to. I think 170 degrees. It helped dry the rice quickly. I then poured the rice into a big rubbermaid container. A couple little bowls and cups and my little one was having a blast!

Friday, October 18, 2013

Lil man's Alphabet

For my birthday last year I decided to do a big craft for my son's bedroom wall. I had fallen in love with some ideas off Pinterest about wooden alphabet letters so I made a plan and went for it. I found on Etsy Alphabet Boutique 123 wooden letters with different styles for each letter and they were all ready to be painted. So I ordered these:

I then headed over to Michaels Crafts (2nd favorite craft store, Hobby Lobby is just too awesome) and found a variety of acrylic paints. Rather than the typical rainbow I wanted more masculine colors that would fit with the colors I had in his room (Earthy, "pond themed' colors). Then every night and some nap times too I would paint a couple letters. They all took 2 coats and then a coat of varnish so it was a lot of painting since there were was so many different colors, lots of cleaning brushes to switch colors. Finally I finished them all and was able to hang them up which gave me this:
I did take my time hanging them, I used a level to keep them straight and marked the middle of the wall to work out so that I could keep each row centered. I am so happy that is how they turned out. I love finding crafts that I can show my creativity and enjoy making without feeling self-conscious. Although my son is only two when I had to take these down when we moved he was very upset, however the excitement when I rehung them in our new home was wonderful to see. 

Sunday, October 13, 2013

The Car Table

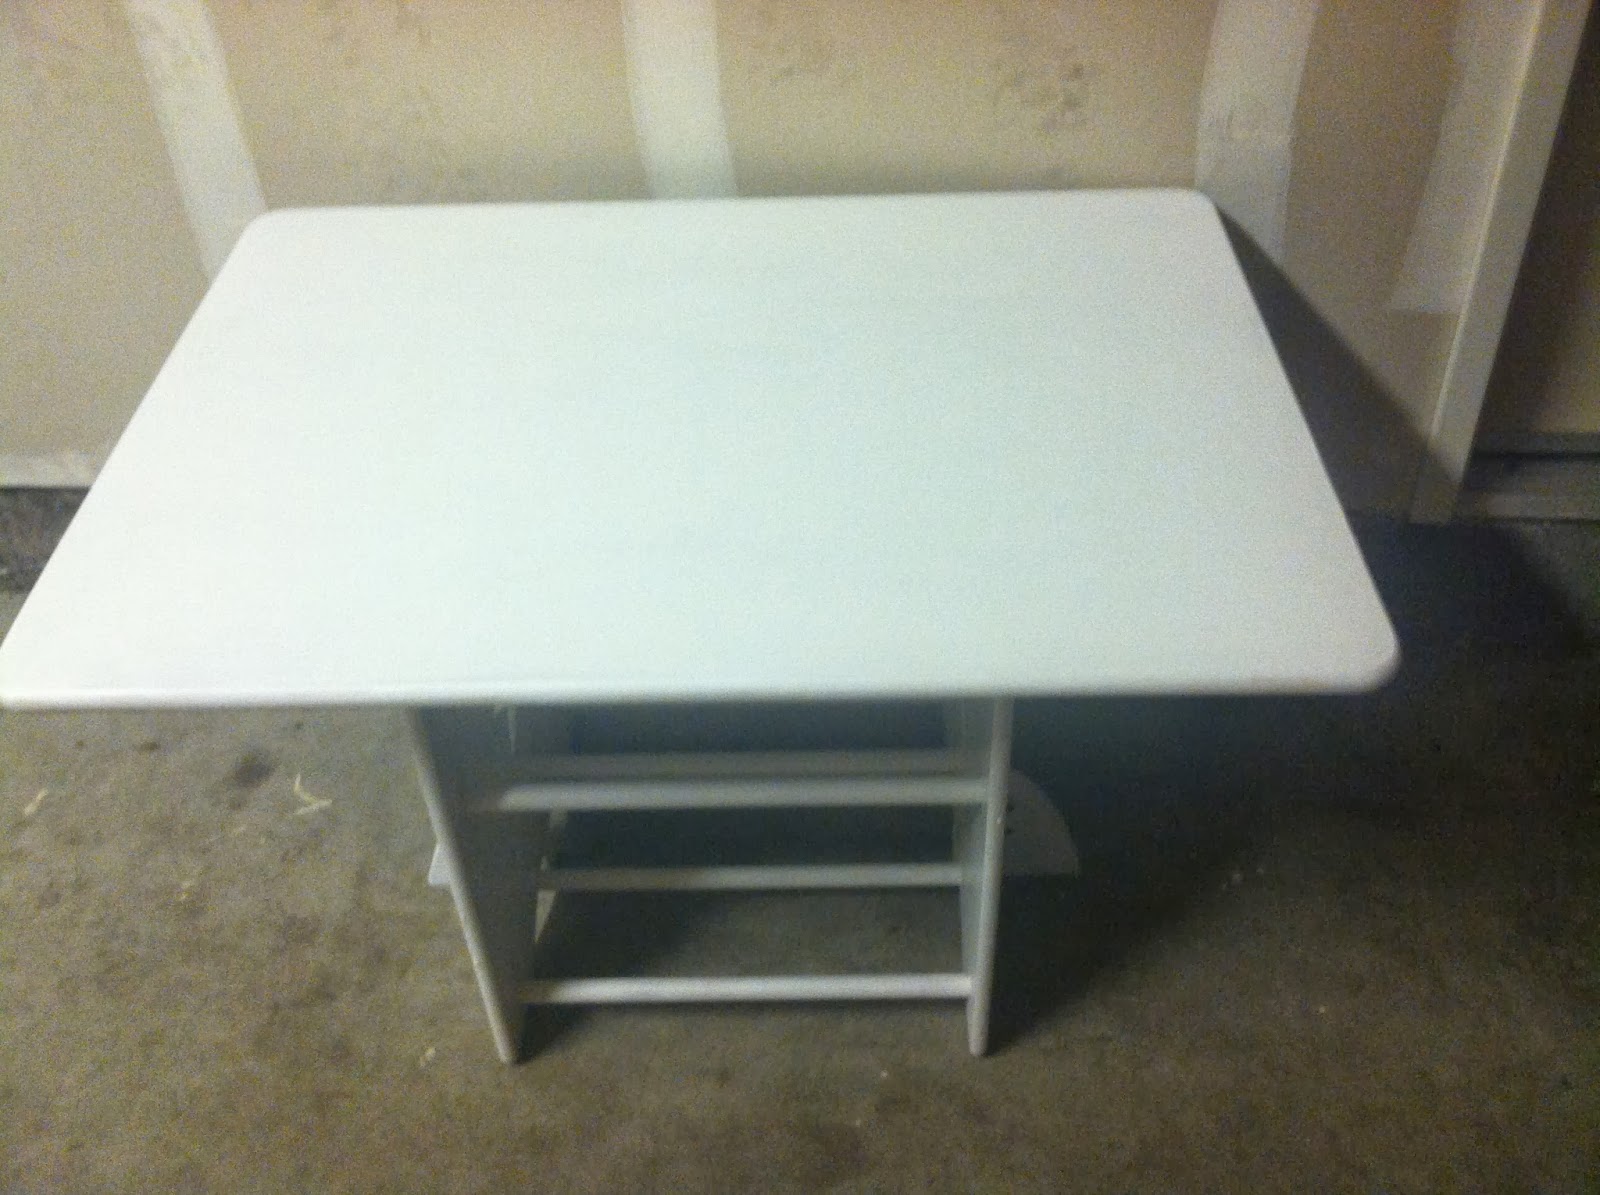
So my awesome friend moved away and I absorbed many items that she didn't wish to take with her on her move across the country. One of the items I was left with is this:
Its a Kidcraft table, perfect for toddlers. It has two chairs and 4 plastic bins to fit into the base where the bars are. After fixing up the top that was broken and lifted right off, filled some holes and gave it a good scrubbing I was ready to begin. 
I felt a little limited with this table because of its size and all the ideas I wanted to do with it. For a train table it needed to be bigger, I could do Legos but our toddler isn't ready for small plastic things yet (He is the reason they have warnings on toys for children under 3). So cars its was. Surprisingly Pinterest wasn't useful for this project (Don't worry, I have many more projects to come from there).
So first step after it the repairs was to paint it with primer it to give me my platform!
I was a bit excited to start on the top since that is main focus so I got out some painters tape and a ruler and got to work. It took about 2 days of taping since I ran out and had to get more, but once it was done I was able to paint the roads (below, left) then added more tape for the yellow dashed line (below, right). 
 

Now the fun could start. I wanted this table to be so unique and fun. I Googled around for ideas but once I was into it, this table was all mine and It was going to reflect our family and what my son would recognize. I dug into my huge stash of scrapbook paper, and started cutting. Most buildings were done with a simple ruler and I free handed any non straight lines. Once every building was assembled I purchased some Mod Podge (Purple label for the hard coat to handle all the use this would one day get). A few layers later and here is my finished top.

I'm in love with how it turned out. The parking spaces fit hotwheels, There is an Exchange (with an EGA and the green shirt all marines wear) and Commissary to represent our lives on Camp Pendleton. I still have the two little chairs, the plastic bins and the base of the table to work on, this is a big project but I have enjoyed every bit of it. Crafting is like meditation to me and after an hour or even 15 minutes I can feel my happiness increase and any stress just disappear.
I'll complete this post once I finish the table which hopefully will be before our monster birthday party in December so it can be utilized at the party.